

Going to get your nails done every week will surely put a dent in your pocket and is hard to keep up with. Learning proper nail panting tips and tricks is ideal for at home mani-pedis. This guide for nail painting tips and tricks will give you ways to make your nail polish look fresh for days.
Our nails are made of keratin that can be easily damaged by careless treatments and spa services. If you’re looking for year-round, naturally brilliant color and shape, you’ve got to master these basic guidelines.
Before painting, file to desired length and shape, shorten the cuticle skin and buff the nails. Make sure to wash and dry the hands (or feet) thoroughly after doing so.
Before applying any color, use a thin layer of clear top coat. Preferably made from mostly natural substances and with lots of vitamins. (Can be found at your local drug store.)
Let the top coat dry for a minute and the begin to apply your desired color.
Once you get to the colors:
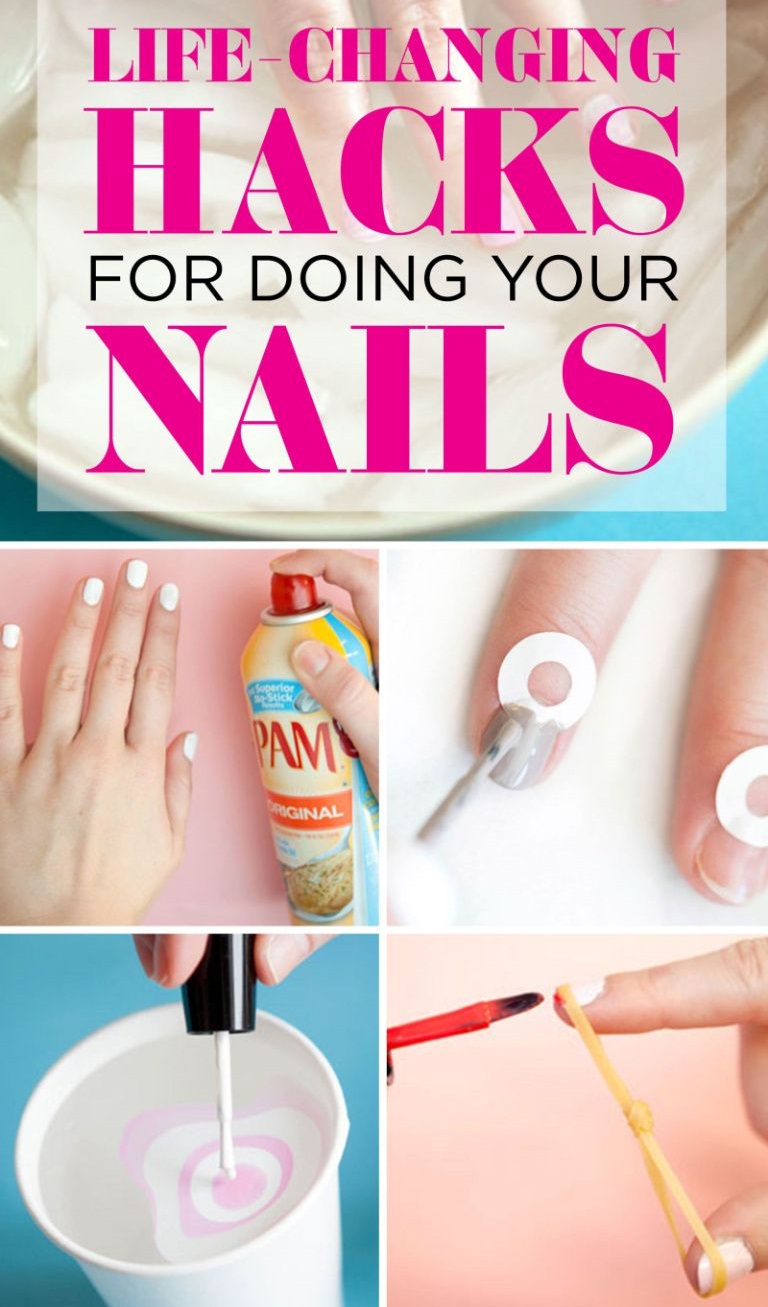
You can put some tape on the sides of your nails to prevent too much disorder or you can get a thin wooden stick and wrap the tip with a little cotton. You will dip the stick in nail polish remover, and remove any polish that leaked onto the skin. You can also use the stick and smaller needles and brushes to create a unique design.
It may take longer, but you will want to paint one layer on each finger at a time.
Let each one dry almost completely before putting on the next.
Apply 2 or 3 thin coats to each nail for the best color results.
Once the nails are dry, apply another thin layer of clear top coat and sit still for a few minutes.
Fast Dry
Use a blowdryer or a fan to dry nails quickly.
You can also spray on a coat of cooking spray directly onto the nails. Wash off after 1-2 minutes.
Alternatively, dipping your nails in ice water also works great!
If you get a smudge right after painting your nails, use your tongue to smooth it out – works like a charm every time!


